
Which checks identify the root cause of plastic mold coating failures?
Coating failures on molded plastic parts can look identical to the untrained eye, but the root cause determines whether a simple repair will work or whether you must correct the molding process or re-mold parts. This article gives a clear triage that separates contamination and release-agent adhesion loss from injection-molding delamination and substrate incompatibility. You will get seven shop-floor checks you can run immediately, common preparation mistakes that cause repeats, a graded repair sequence, and the exact vendor questions to ask before sending parts out.
Triage first: contamination, delamination, or substrate incompatibility
Sort the failure into one of three categories. Each requires different next steps and different specialists.
- Surface contamination or release-agent adhesion loss, where mold release, oils, or silicones prevented bonding. This failure is often localized and may show full-area adhesion loss after mechanical or chemical disturbance. Residual release agents are a common cause of paint and coating failure on plastics and are often fixed by correct cleaning and surface preparation (IPCM).
- Injection-molding delamination, where the polymer part contains weak or separated surface layers produced during molding. Delamination can appear long after molding, sometimes after downstream operations or in service, and it is not corrected by simple cleaning or recoating (Fox Mold).
- Substrate incompatibility or process mismatch, where the chosen coating, primer, or cure process is chemically or thermally incompatible with the substrate. This is most common when using aggressive chemistries or when shops skip primers validated for the specific polymer family (Plastics Decorating).
Seven shop-floor checks that identify the likely root cause
Run these low-cost, quick checks in order. Each result narrows the diagnosis and reduces the risk of rework.
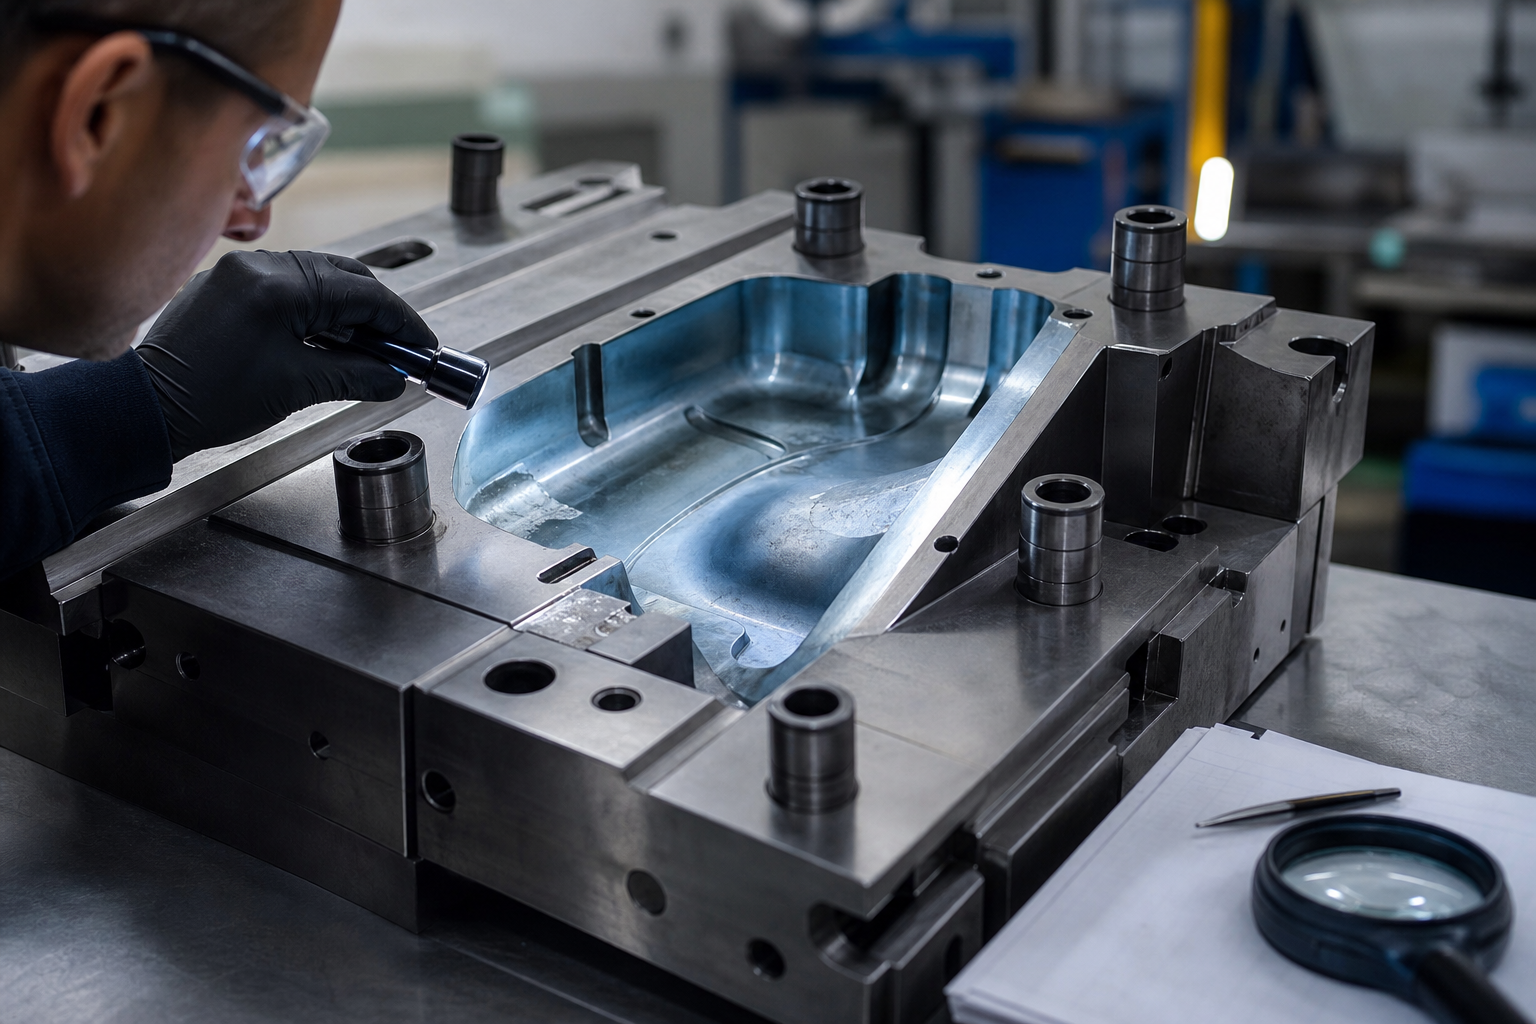
- Visual pattern and edge inspection. Contamination failures often show cohesive flaking with residue on the back of the film, while molding delamination shows lifted polymer layers starting at stress points or weld lines. Use a 10x to 50x microscope or a strong loupe for edges.
- Adhesion tape test. Apply a high-strength tape to the coating, pull at a consistent angle, and inspect. If a thin, uniform film lifts, suspect adhesion loss from contamination. If polymer fragments or layer separation come away, suspect molding delamination (IPCM).
- Solvent wipe and fingerprint test. Wipe the failed area with a solvent recommended for the polymer family. If the coating softens or detaches after a solvent wipe, residual release agents or poor cure are likely causes. If nothing changes, contamination is less likely.
- Thermal pre-bake test. Gently heat a suspect part to the coating’s typical cure temperature, then repeat the tape test. Some release-agent residues volatilize or redistribute on heat, revealing contamination effects. Do not exceed temperature limits for the polymer.
- Cross-hatch or micro-scratch adhesion test. Score a cross-hatch pattern and apply tape. Poor cross-hatch retention usually indicates surface contamination or inadequate primer. Cohesive failure through the substrate suggests delamination.
- Microscopic fracture-face inspection. If a fragment has come off, cut it and inspect the fracture face under magnification. A clean polymer surface with a thin release film points to contamination. Layered polymer morphology or microvoids points to injection-molding delamination (Fox Mold).
- Process history review. Ask immediate questions: what release agents were used, were there changes to resin lots, what mold surface treatments were applied, how was drying handled, and did downstream operations change? Release-agent and process changes are frequent root causes of later coating failure (IPCM).
Preparation mistakes that cause repeat coating failures
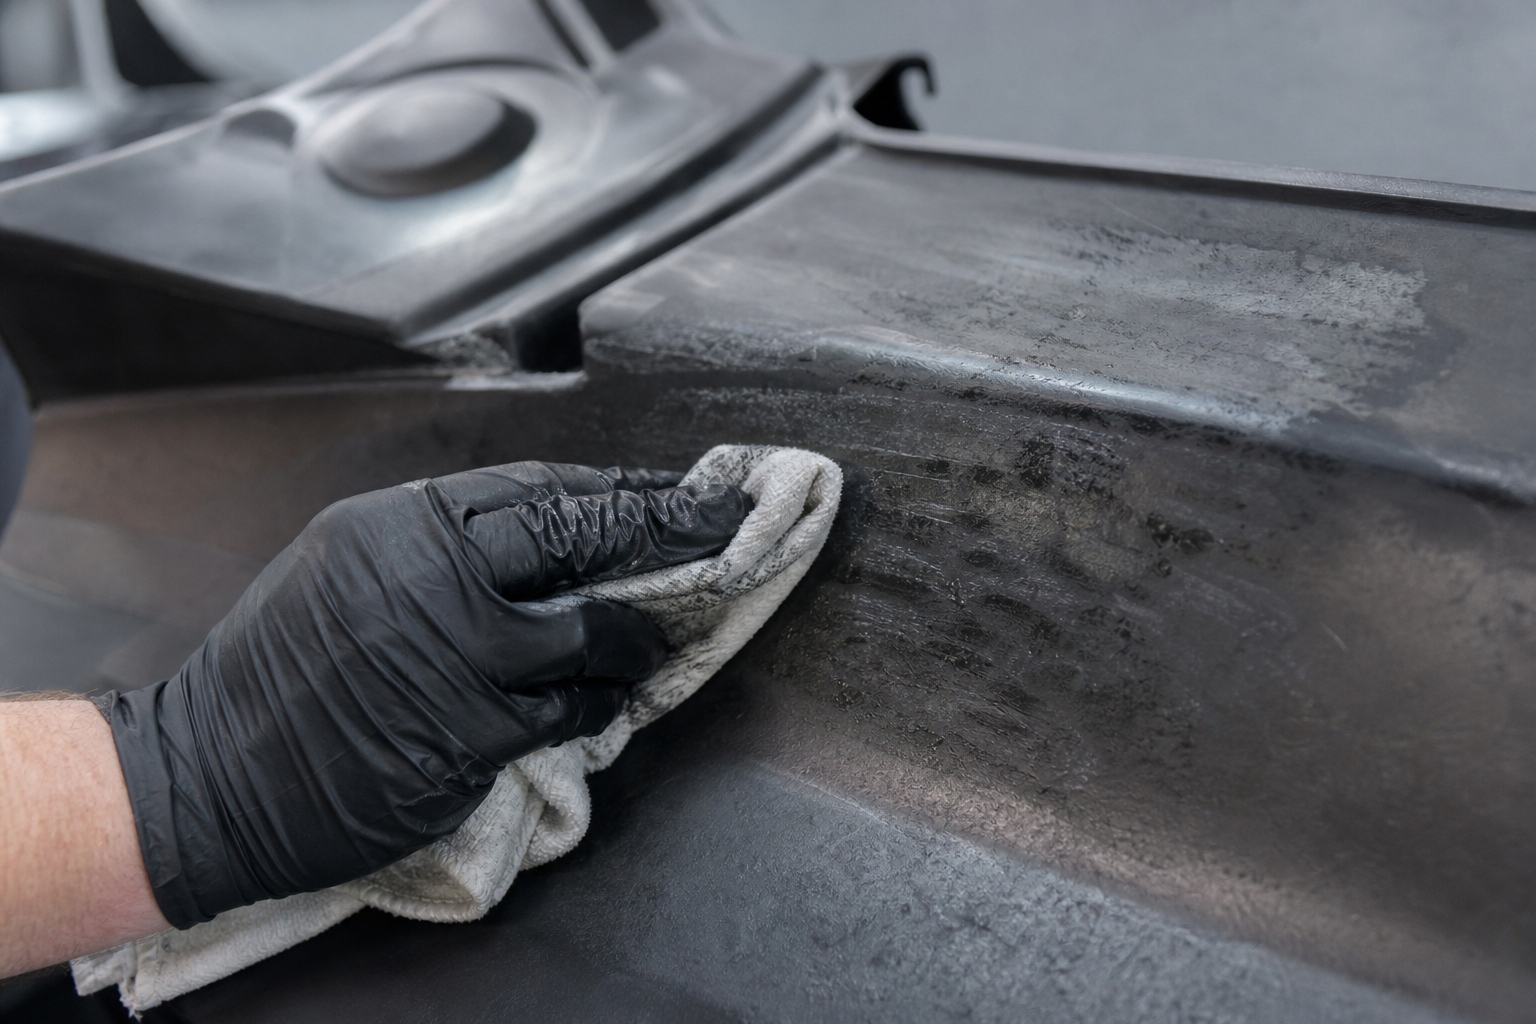
Understanding common shop errors prevents wasted rework. These problems are repeatedly documented in painting and coating practice notes.
- Not removing release-agent residues. Even small amounts of silicone or hydrocarbon-based mold releases prevent primers and coatings from anchoring. IPCM documents these residues as a primary reason for flaking (IPCM).
- Skipping scuff sanding. Most painted plastic parts are scuff-sanded to create a mechanical key for primers and to remove surface gloss and contamination (Plastics Decorating).
- Using the wrong degreaser or cleaning chemistry. Some cleaners leave a residue or are incompatible with the polymer and primer system, producing the very contamination they intend to remove.
- Applying an unsuitable primer or insufficient cure. Paint suppliers provide primers that fill pinholes and mask small mold defects. Using a non-recommended primer or undercuring the system reduces adhesion and increases peel risk (Plastics Decorating).
- Spot repair without correct pre-treatment. Repairing a patch without proper cleaning, feathering, or micro-abrading creates stress boundaries that can propagate later peeling (Hoorenmold).
Graded repair sequence: analysis, targeted pre-treatment, and when to re-mold
Follow a staged approach to minimize scrap and avoid repeating the same mistake. Reliable repair protocols follow the sequence failure analysis, graded repair, post-treatment, and maintenance (Hoorenmold).
- Failure analysis. Photograph and document failures, run the quick shop-floor checks above, and if needed submit a failed sample for laboratory analysis or microscopy.
- Targeted pre-treatment. For contamination: controlled solvent cleaning, media blasting at low pressure, and flame or plasma treatment where the polymer permits. For surface mechanical defects: scuff sanding, primer fill, and controlled bake.
- Spot repair then validate. Use a small, representative area to test the full repair sequence. If the patch holds through cross-hatch and tape testing, expand repairs.
- Full strip and re-coat. When failures are widespread but not due to substrate delamination, full stripping and a validated prep and primer sequence are appropriate. Remediation by repainting and controlled surface treatment is a standard remedy for large-area flaking (BBB Technologies).
- Decide to re-mold. If testing reveals polymer layer separation, microvoids, or other delamination signs, re-molding is necessary. Delamination originates in molding and cannot be corrected reliably by surface cleaning or coating (Fox Mold).
Exact questions to ask a coating vendor before you hand over parts

Use this vendor checklist during RFQs and vendor calls. Ask for written answers and sample test reports.
- Do you perform in-house surface preparation such as sandblasting, microblasting, degreasing, stripping, and lapping? Ask for process descriptions and equipment lists. Many repairs fail when vendors outsource prep to partners.
- What laboratory adhesion and surface-energy tests do you run and can you provide sample reports? Request cross-hatch, tape, pull-off, and any analytic results used to confirm cleanliness.
- Can you run a small proof-of-process trial on representative parts before committing a full batch? Require documented acceptance criteria and test results for the trial.
- What are your prototype-to-volume capacities and how do you scale process controls? If batch weight matters, request cycle capacities. For example, Sputtek documents SPUN PVD systems with high per-cycle capacities for large-batch reliability which may affect scheduling and batching decisions (Sputtek).
- Which coatings do you recommend for my polymer and application, and why? Ask about alternatives such as PVD or thermospray and when each is appropriate. If you are considering advanced thin-film solutions, review vendor guidance such as Choose Advanced PVD Coatings for Real Service Loads.
- What certifications and traceability systems do you hold? Request copies of ISO 9001:2015 and any regulated-vendor approvals because they matter for safety-critical work. Ask for batch traceability examples and process flow diagrams (Sputtek lists ISO 9001:2015 and Nuclear N299.3 approvals on its site).
- Can you provide past examples or references for similar polymer and coating combinations in my industry? Ask for non-confidential case summaries and test results.
Canadian and regulated-part considerations you should not skip
When your parts are regulated or destined for safety-critical assemblies, local approvals and traceability change the decision. Working with a certified local partner can reduce freight risk, simplify traceability, and speed technical iterations. Confirm the vendor maintains documented quality systems, batch traceability, and the vendor approvals required for your sector such as ISO 9001:2015 or Nuclear N299.3. Sputtek publishes these approvals and emphasizes in-house prep and QC laboratory capabilities that matter for regulated procurement (Sputtek).
Decision criteria and how to handle common objections from production and procurement
Use these simple rules when stakeholders push for fast turnaround or cheaper fixes.
- Accept re-coating only after a successful proof-of-process. If the trial patch passes adhesion tests and environmental checks, re-coating is acceptable for contamination or primer failures.
- Insist on re-molding for delamination. If microscopic inspection shows internal layer separation, stop planning recoat work. Re-molding is the long-term solution because surface work will fail later (Fox Mold).
- When procurement demands rapid fixes, require a signed acceptance test plan and a warranty window for repaired batches. If the vendor cannot perform a qualified trial, escalate to a vendor with documented lab capability.
- Cost pressure mitigation. Compare the cost of a validated rework sequence against the expected scrap and field failure risk. For regulated or safety-critical parts, the cheapest fix is rarely the lowest total cost of ownership.
Key takeaway
Distinguishing contamination and release-agent failures from injection-molding delamination is the single most important decision. Quick shop-floor checks and a short proof-of-process trial will usually tell you whether recoating is appropriate or whether you must correct molding and re-mold parts.
Frequently asked questions
When should you re-mold a part instead of re-coating it?
Re-mold when microscopic inspection or fracture-face analysis reveals polymer layer separation, microvoids, or cohesive failure through the substrate. Delamination originates in molding and cannot be fixed reliably by surface preparation or coating (Fox Mold).
Which simple tests reliably reveal release agent contamination on plastic parts?
Start with a solvent wipe and a tape adhesion test, followed by a thermal pre-bake and a repeat tape test. If the coating softens or the adhesion changes after solvent or heat, release-agent or residue contamination is likely (IPCM).
Can PVD or thermospray coatings fix flaking on plastic parts and when are they appropriate?
PVD and thermospray are advanced surface-engineering options generally used for metal components or engineered plastic-metal assemblies. They may be appropriate after correct substrate preparation and when the part design and polymer can accept the process. Discuss suitability with a vendor that documents both coating and prep capabilities and run a proof trial before committing to volume work (Choose Advanced PVD Coatings for Real Service Loads).
What vendor certifications and in-house capabilities should you require for nuclear or safety-critical parts?
Require documented ISO 9001:2015 quality systems, any industry-specific vendor approvals such as Nuclear N299.3 if applicable, and in-house prep and QC lab capabilities including adhesion testing, controlled stripping, and documented traceability. Ask for sample reports and process flow diagrams to confirm the vendor can meet your audit needs (Sputtek).
How much surface preparation is normally required before repainting or recoating plastic parts?
Typical preparation includes thorough cleaning with a validated degreaser, scuff sanding or microblasting to create a mechanical key, primer application tuned to the polymer, and an appropriate cure cycle. The precise steps depend on polymer chemistry and coating type. Always validate with a small repair trial and adhesion testing (Plastics Decorating).
Ready to run a root-cause check on your failed parts and decide whether to recoat or re-mold? Contact Sputtek to schedule a proof-of-process trial and get documented adhesion testing before you commit to volume work.