
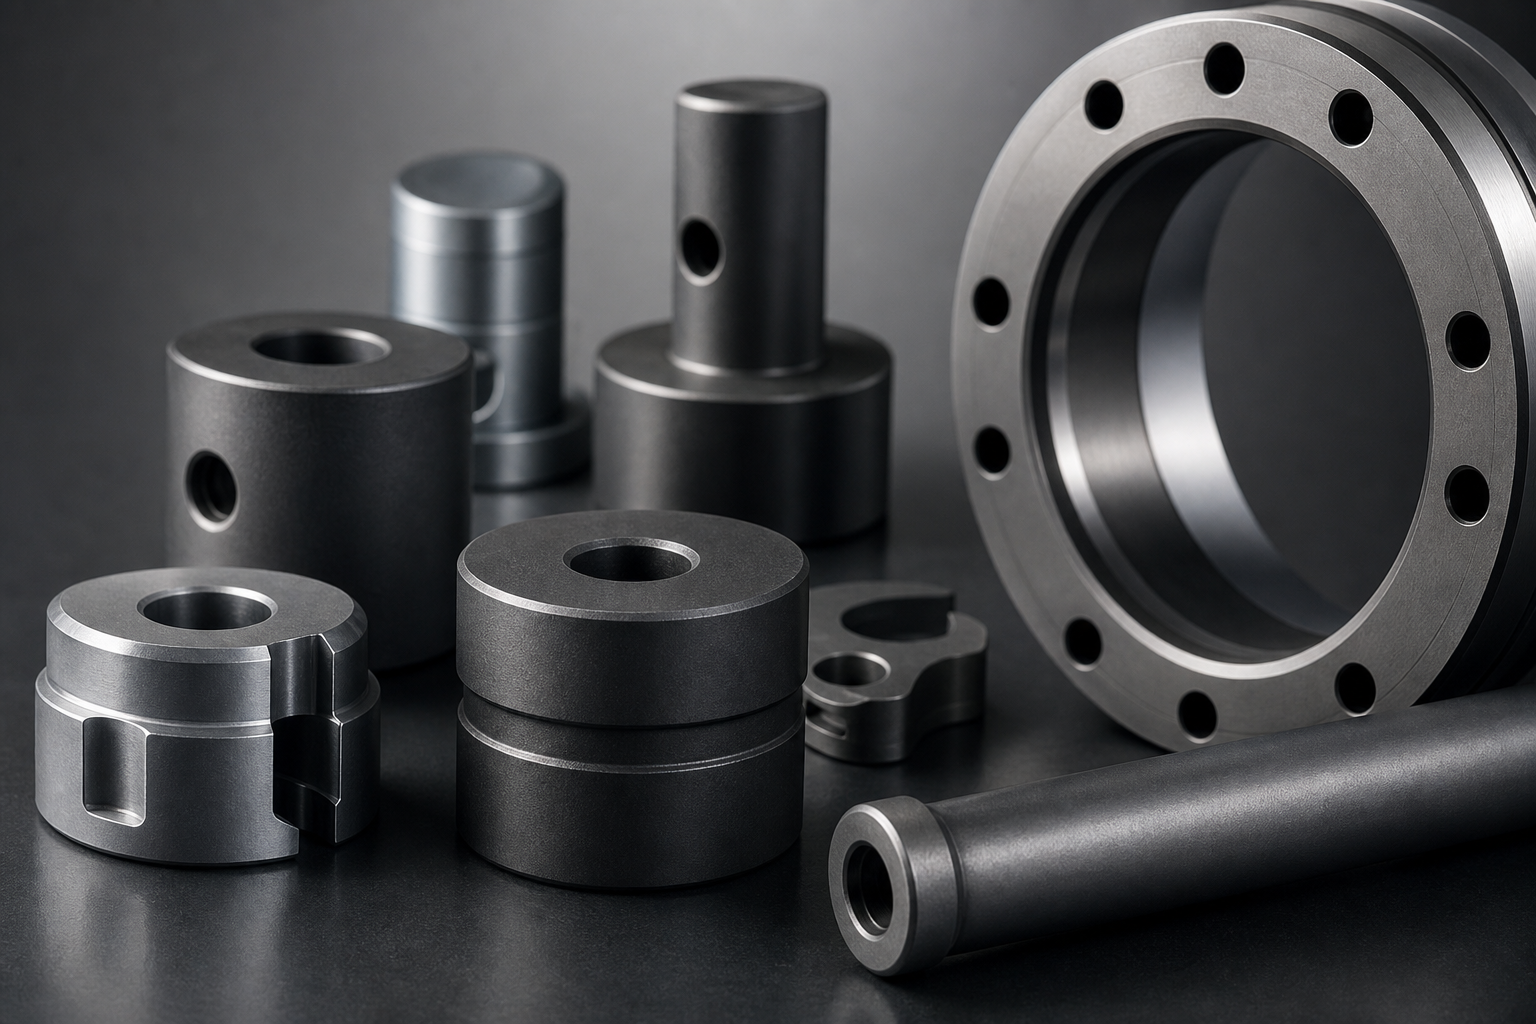
A Practical Guide to Wear Coating
Wear coating is a family of engineered surface treatments applied to tools, molds, dies, and components to resist friction-driven damage. The right coating can help stabilize processes, protect critical tolerances, and reduce unplanned downtime by managing surface interactions where they matter most: at the contact interface. This guide explains what wear coatings are, when to use them, how common technologies compare, and the practical steps required to design, validate, and maintain coated parts for long-term reliability.
What wear coating is
In production environments, surfaces fail for a handful of recurring reasons. Wear coatings address these by tailoring hardness, chemical composition, and surface energy to the operating conditions.
- Abrasion: Hard particles or rough counterparts plow or cut the surface. Coatings counter by increasing surface hardness and pairing with smooth finishes to minimize gouging.
- Adhesion (galling/scuffing): Two metal surfaces weld microscopically and tear during sliding. Low-friction, inert coatings reduce the tendency to stick and transfer material.
- Erosion: High-velocity particles or fluids remove material. Dense, tough overlays and optimized surface textures help deflect or dissipate impact energy.
- Fretting and surface fatigue: Small-amplitude oscillation or cyclic contact initiates cracks. Coatings with appropriate toughness and residual stress profiles can delay crack formation.
- Corrosive wear: Chemical attack accelerates mechanical wear. Chemically stable coatings create a barrier that resists corrosive species while supporting the tribological function.
Coatings are not a silver bullet; they complement fundamentals such as proper material selection, heat treatment, lubrication, alignment, and process stability. When used judiciously, coatings allow engineers to fine-tune surface properties independent of the base material’s bulk properties.
When to use wear coatings
Before selecting a process, confirm that the failure mode happens at or near the surface and that the substrate and geometry can tolerate the required preparation and application steps. Typical triggers include:
- Repeated premature wear or scuffing localized to functional surfaces
- Process variability tied to friction—e.g., sticking, build-up, or inconsistent release
- Need to protect tight dimensional features against surface degradation
- Desire to separate bulk mechanical design from surface tribology (e.g., keep a tough base metal but harden only the contact layer)
- Corrosive or erosive media accelerating surface loss in service
Equally important are red flags indicating that a coating alone may not suffice:
- Gross misalignment, vibration, or loose fixturing causing impact and chipping
- Thermal exposure outside the stable range of the candidate coating
- Contamination or residues that cannot be consistently removed prior to coating
- Geometry that traps media or prevents uniform surface preparation
Use a short evidence checklist to qualify candidates:
- Identify dominant wear mechanism using failed-part inspection (e.g., directional scratches for abrasion, material transfer for adhesion).
- Confirm the contact environment (temperature, media, lubrication, counterpart material).
- Define success metrics (cycles, parts per edge, friction window, surface roughness, cleanability).
- Select a coating class aligned to the mechanism and environment.
- Plan a representative validation run with pre/post metrology and clear acceptance criteria.
Common wear coating technologies
Several mature technologies are widely used to combat wear. The most common fall into two categories: thin-film vapor deposition and thermal spray overlays. Each has characteristic microstructures, thickness ranges, and surface finishes after application.
PVD (Physical Vapor Deposition)
PVD builds thin, adherent films by vaporizing material in a vacuum and depositing it onto the part. It is often chosen to reduce friction, improve hardness, and preserve fine features because the coating follows the substrate closely. Variants can include hard nitrides, carbides, and related families tailored for sliding contact and tooling applications.
- Strengths: Conformal coverage on complex geometries; supports fine tolerances; well-suited for tooling and precision components.
- Considerations: Surface preparation is critical; the final finish largely reflects the starting finish; heat-sensitive substrates must accommodate process temperatures typical of PVD.
DLC (Diamond-Like Carbon)
DLC is a PVD-family coating known for its low-friction, carbon-based structure and high surface hardness. It is often used to mitigate adhesion wear, support dry or borderline lubrication conditions, and stabilize sliding interfaces where low surface energy is desirable.
- Strengths: Very low friction character; chemical inertness helpful in a range of environments; beneficial for sticking and scuffing issues.
- Considerations: Like other thin films, the coating mirrors the underlying topography; compatibility with the substrate and temperature window must be verified.
Thermal spray and Pulsed HVOF
Thermal spray processes propel molten or semi-molten particles onto a prepared surface to form a dense overlay. Pulsed HVOF is a form of high-velocity application that builds tough, low-porosity coatings. These overlays can be selected for abrasion and erosion resistance or to introduce specialized chemistries at the surface.
- Strengths: Builds thicker, robust layers; can be tailored for erosive, abrasive, or corrosive environments; suits components that benefit from armoring the surface.
- Considerations: Requires proper surface roughening and masking; post-processing (such as grinding or lapping) may be needed to achieve final tolerances and finishes.
Choosing among these options depends on contact mechanics, environmental factors, geometry, and downstream finishing capability. Thin films excel at friction control with minimal dimensional impact; sprayed overlays excel at heavy-duty protection where additional thickness and impact resistance are acceptable.
Selection criteria and trade-offs
Systematically match the coating to the job by weighing the variables below. Document each with data or engineering judgment so trade-offs are explicit.
- Wear mechanism: Prioritize low-friction thin films for adhesion/galling and high-hardness or tough overlays for abrasion/erosion.
- Substrate and heat treatment: Coating performance relies on substrate support. Confirm that hardness, toughness, and process temperatures are compatible.
- Operating temperature: Ensure the coating’s structure and lubricity remain stable across the full thermal profile, including start-up and transient conditions.
- Chemical environment: Consider exposure to coolants, cleaning agents, gases, or product media that may affect adhesion or chemistry.
- Counterface material and lubrication: Pair coatings with counterparts to manage transfer films and friction coefficients. Verify lubricant compatibility where applicable.
- Thickness and tolerances: Thin films favor precision features; overlays accommodate aggressive service but may require finish machining.
- Geometry and masking: Identify seal faces, threads, and datum surfaces requiring protection during preparation and deposition.
- Surface finish targets: Many coatings echo the substrate’s topography. Plan for pre-polish and, if needed, post-coat finishing to hit Ra/Rz goals.
- Inspection and rework path: Define how thickness, adhesion, and roughness will be verified and how parts will be stripped or re-coated if needed.
- Production cadence: Align batch sizes, handling, and turnaround with line schedules and maintenance windows.
- Compliance and documentation: In regulated environments, specify required documentation, traceability, and process controls early.
Designing for coating success
Coatings work best when they are designed into the product or tool, not bolted on at the end. The following practices help avoid surprises and speed validation.
- Specify critical surfaces: Identify functional areas for coating and those to be masked. Include drawings or photos highlighting edges, radii, and blend zones.
- Plan the surface route: Define the sequence: degreasing, microblasting or sandblasting, cleaning, coating, and any after-coating polishing or lapping.
- Control edges and transitions: Sharp edges can concentrate stress. Break edges appropriately to support adhesion without compromising function.
- Account for finish replication: For thin films, polish before coating to the final finish target. For overlays, reserve stock for post-process finishing.
- Select fixtures thoughtfully: Consider how parts will be supported during processing to ensure uniform access and minimize handling damage.
- Prepare for cleanliness: Standardize incoming cleanliness, including removal of oils, coolants, and marking inks that could interfere with adhesion.
Quality and validation
Successful programs define how performance will be measured before the first part is coated. Align tests with the dominant failure mode and the application’s risks.
- Thickness verification: Use appropriate methods for the coating type and geometry. Verify uniformity on functional areas.
- Adhesion assessment: Employ standardized tests and correlate results with in-service observations from trial runs.
- Hardness and roughness: Confirm surface hardness is in the intended range and that Ra/Rz targets are met after any post-processing.
- Tribology screening: Use bench tests to compare friction and wear rate trends between candidate coatings before scaling.
- Dimensional checks: Measure critical features before and after coating and after any finishing to confirm tolerance stack-ups.
- Functional pilots: Run limited production trials under representative conditions, capturing uptime, scrap, part quality, and tool change intervals.
- Cleanliness and residue control: Inspect for trapped media, masking residue, and cleanliness in channels and holes prior to release.
Document each validation step, including setup parameters, surface preparation details, and metrology data. A well-structured report accelerates sign-off and ensures future reorders reproduce the outcome reliably.
Maintenance and lifecycle
Even a well-chosen coating benefits from disciplined care. Treat surface preservation as part of normal operations.
- Clean with compatible agents: Avoid chemicals or abrasives that undermine adhesion or change surface energy. Standardize cleaning intervals and materials.
- Handle deliberately: Use soft supports and avoid metal-to-metal stacking. Protect functional surfaces during transport and storage.
- Track use and inspections: Record cycles, operating temperatures, and observations. Regularly inspect for micro-chipping, discoloration, or polish changes in wear tracks.
- Define re-coat criteria: Establish objective thresholds for rework based on visual cues, metrology, or process KPIs rather than waiting for failure.
- Plan rework routes: When stripping is required, specify acceptable methods and dimensional allowances. Preserve datum integrity through repeated cycles.
Lifecycle planning ensures coatings remain a controlled variable in your process rather than an uncontrolled source of variation.
Implementation checklists
Use these quick-reference lists to coordinate engineering, quality, and production teams.
Engineering prep
- Define the wear mechanism and environment
- Choose candidate coating classes (e.g., thin-film PVD or a thermal-spray overlay)
- Mark coated and masked zones on drawings
- Set finish and tolerance targets pre-/post-coat
- Specify inspection methods and acceptance criteria
Operations and quality
- Standardize cleanliness requirements for incoming parts
- Confirm fixturing, handling, and packaging instructions
- Plan pilot runs and sampling
- Capture data: thickness, adhesion, roughness, dimensional checks
- Publish rework/strip guidelines and triggers
Continuous improvement
- Review in-service wear patterns and correlate to lab data
- Adjust finish, geometry breaks, or masking where issues recur
- Periodically re-evaluate coating choice as operating conditions evolve
FAQ
Is “wear coating” the same as surface hardening?
Not exactly. Surface hardening changes the properties of the substrate itself (for example, by heat treatment), while wear coatings add a distinct engineered layer to the surface. Coatings allow you to combine a substrate chosen for bulk strength or toughness with a surface tailored for friction, chemical resistance, or hardness.
How do I decide between a thin-film PVD coating and a thermal-spray overlay?
Align the choice with your dominant failure mode and tolerance needs. If you must preserve sharp details and manage friction or adhesion wear, thin films are often favored. If the environment is abrasive or erosive and can accommodate a thicker protective layer that may require finish machining, an overlay is often appropriate. Validate on representative parts to confirm.
Can aluminum or stainless components be wear coated?
Often yes, provided the preparation route, masking, and process temperatures are compatible with the alloy and the intended service. Success depends on matching the coating class to the substrate and ensuring proper surface preparation and fixturing.
Will a wear coating also improve corrosion resistance?
Some coatings create a chemically stable barrier that can slow corrosion at the surface, which may incidentally improve wear performance in corrosive conditions. Treat corrosion resistance as a separate requirement and confirm it with relevant exposure or salt-spray style tests where applicable.
What if my coated part still shows premature wear?
Revisit the failure analysis. Confirm the wear mechanism, check cleanliness and surface finish prior to coating, assess whether the operating temperature or media exceeded the intended range, and examine handling or fixturing for edge chipping or impact. Then iterate the coating choice or finishing steps with a controlled pilot.