
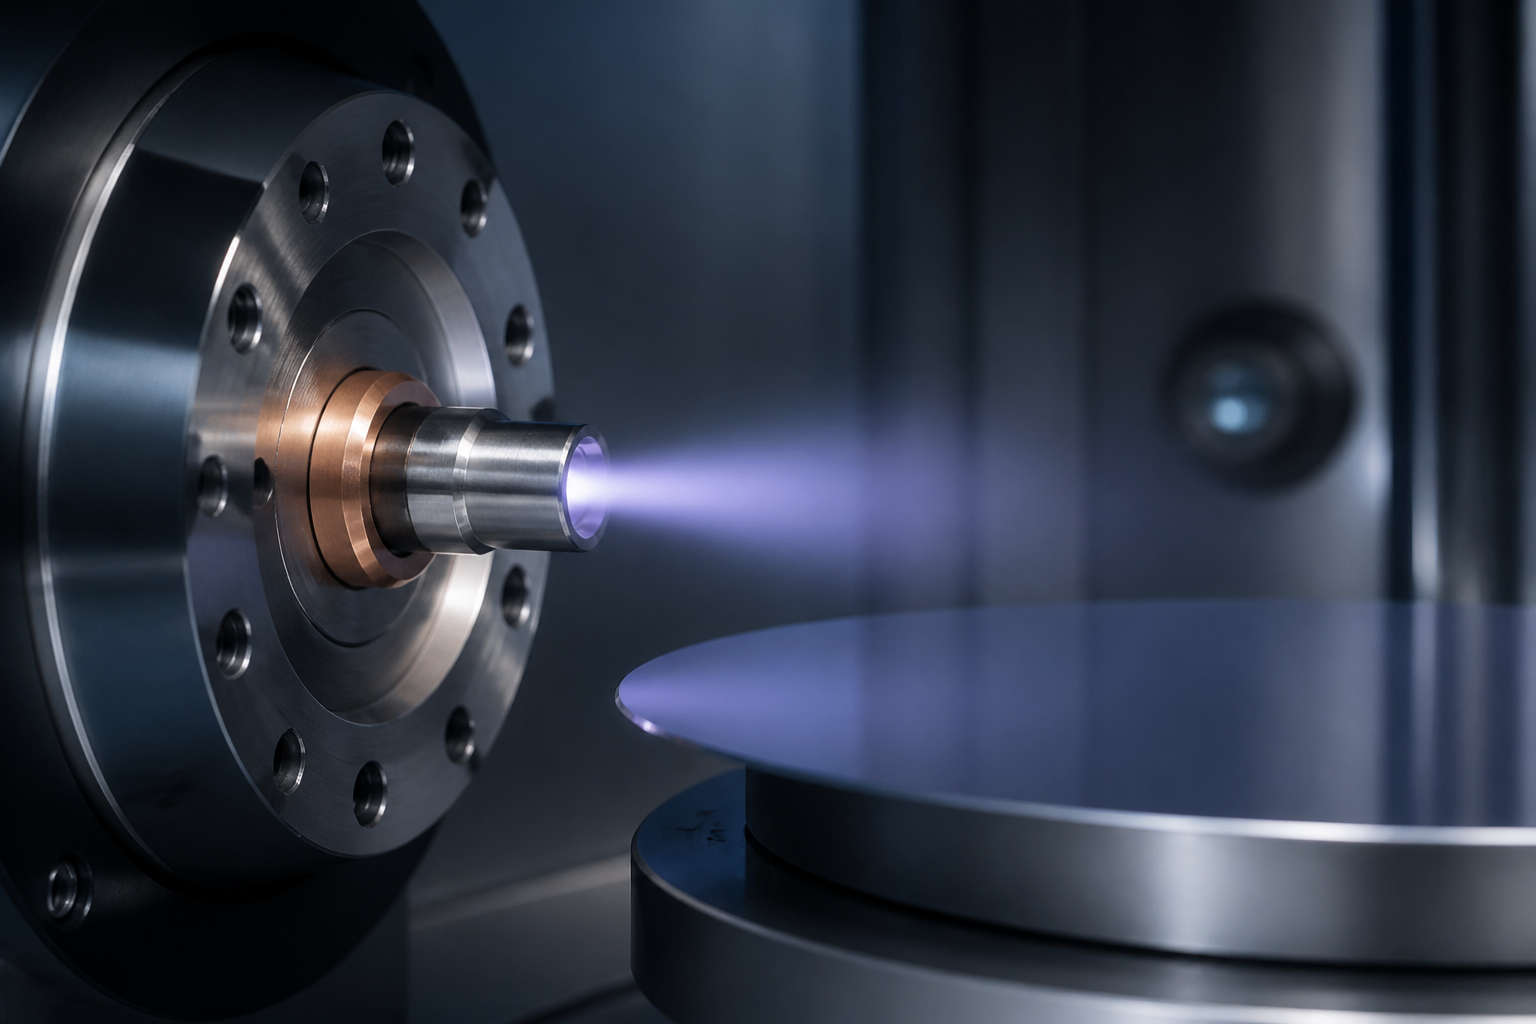
Thermal coating: how to choose the right process, material, and partner
Thermal coating is a broad term for engineered surface layers that protect components and tools against wear, friction, heat, and corrosion. Getting the specification right has outsized impact: the chosen process, material system, and surface preparation can determine whether a part runs reliably for months or needs rework in weeks. This practical overview explains what thermal coating encompasses, compares common processes used in industry, and provides a step-by-step framework to select materials, prepare parts, and validate performance before you scale.
What is thermal coating?
In industrial settings, a thermal coating is a deliberately engineered layer applied to a substrate to improve surface performance without changing the base material. By tailoring hardness, friction, thermal stability, and chemical resistance at the surface, you can extend usable life and stabilize output in demanding operations. Two families dominate production applications:
- Physical Vapor Deposition (PVD) thin films used for precision, high-adhesion functional surfaces.
- Thermospray coatings (including pulsed HVOF styles) for dense, thicker overlays and restoration.
Both aim to create a surface that withstands real operating loads—abrasion in stamping, galling in forming or plastic processing, erosion in fluid handling, or fretting in assemblies—while balancing cost, lead time, and maintainability.
Core processes compared: PVD vs. thermospray (including pulsed HVOF)
Each process family has distinct strengths. Matching them to your component’s duty cycle and geometry is the first big decision.
Thermospray and pulsed HVOF in brief
Thermospray processes deposit material that is heated and propelled toward the substrate to build thicker, protective overlays. Within this family, pulsed HVOF methods are used for dense, high-adhesion coatings suitable for wear and corrosion environments. These coatings are common on components that face abrasion, erosion, and impact or where dimensional restoration and robust barrier layers are needed.
Think of PVD as a precision, thin-film solution that modifies near-surface behavior with minimal dimensional change, while thermospray (including pulsed HVOF) builds a thicker shield tailored to heavy-duty service and refurbishment scenarios. Neither is inherently “better”; they solve different problems.
Selecting coating materials: functional targets first
Start with function: what surface behavior do you need during real operation? From there, you can map to material families and film architectures.
- Wear resistance and hardness: Choose hard ceramic-like films (common in PVD) or carbide/oxide-rich overlays (common in thermospray) when abrasive or adhesive wear dominates.
- Low friction and anti-sticking: Thin films engineered for reduced friction—such as diamond-like carbon (DLC) types within PVD portfolios—are used where sticking, buildup, or galling threatens throughput and part quality.
- Thermal stability: For elevated temperatures, select compositions and architectures that keep hardness and integrity under heat exposure.
- Corrosion and chemical exposure: Favor chemically resistant chemistries and dense microstructures to limit reaction pathways and permeation.
- Impact and erosion: For particle-laden or cavitating flows, prioritize toughness and dense overlays with strong adhesion—typical territory for thermospray and pulsed HVOF approaches.
Also consider whether you need a single layer or a stack. Many systems use adhesion-promoting bases, functional middles, and top layers tuned for friction or passivation. When specifying, outline allowable thickness windows so the coating can be tailored without encroaching on fits and clearances.
Design and surface prep considerations
Coatings do not rescue poor design or rough substrates. To set your part up for success:
- Geometry: Avoid deep blind holes and extreme aspect ratios when uniform coverage matters. Add gentle radii to reduce stress concentration at edges.
- Surface finish: Establish a pre-coating finish target. Thin films inherit your substrate; thicker sprays still benefit from consistent profiles.
- Preparation steps: Industrial workflows commonly include sandblasting or microblasting to set profile, degreasing and cleaning to remove residues, and masking to protect critical interfaces.
- Post-processing: Depending on process, after-coating polishing or lapping can achieve final Ra/Rz targets and functional smoothness.
- Stripping and recoat strategy: For tools and components that will be recoated, confirm compatible stripping methods that preserve base geometry.
When you write the drawing note, specify prep and post steps by outcome (for example, target surface roughness and cleanliness) rather than brand names or informal shop jargon. That keeps room for approved, equivalent methods while preserving your functional intent.
Specifying and testing: from coupon to production
A good specification makes verification easy. Align requirements with tests that directly support your risks:
- Thickness and uniformity: Use non-destructive checks and representative coupons located near your parts to monitor real loading density and shadowing effects.
- Adhesion: Choose standardized adhesion or scratch methods appropriate to the process and thickness range. Report method and acceptance criteria.
- Hardness and microstructure: Use microhardness and metallographic cross-sections on witness samples to confirm deposition quality, density, and integrity for thicker overlays.
- Friction and wear screening: Where sliding behavior is critical, small-sample tribology can de-risk before production trials.
- Corrosion and environment: If fluids or cleaning agents are aggressive, include exposure tests aligned to real media and temperatures.
Record the full coating stack, process family (PVD or thermospray, including any pulsed HVOF method where relevant), target thickness window, and finishing steps in your traveler or control plan. Quality control laboratory testing and documentation help maintain consistency during scale-up.
Applications and use cases
Thermal coating is broadly used wherever parts see abrasive or corrosive environments, repeated contact, or elevated temperatures. Common industrial domains include:
- Automotive manufacturing and tooling
- Aerospace and defense components
- Oil and gas equipment
- Nuclear sector hardware
- Medical and pharmaceutical tooling
- Food and packaging equipment
Avoiding common pitfalls
- Specifying by brand name instead of function: Anchor your spec to measurable outcomes—hardness range, thickness window, friction goal, corrosion exposure—so multiple qualified solutions can meet your needs.
- Skipping substrate prep: Residual contamination or uneven profile undermines adhesion and performance. Call out cleanliness, profile, and masking explicitly.
- Ignoring finishing: If you need a specific Ra/Rz, include after-coating polishing or lapping in the plan.
- Overlooking thermal budget: Ensure the coating process temperature is compatible with your base material and prior heat treatment.
- Testing the wrong thing: Align test methods and acceptance to your actual failure modes—don’t rely on a single generic metric.
- Insufficient sampling at scale: Add witness coupons to each load when batch geometry and density change; keep data tied to serials or lot IDs.
Implementation checklist
Use this quick worksheet to move from idea to stable production:
- Define the problem: Identify the dominant failure mode (adhesive wear, abrasive wear, galling, erosion, corrosion, heat softening).
- Choose a process family: PVD for thin, precise functional films; thermospray (including pulsed HVOF) for dense, thicker overlays and restoration.
- Select materials: Map to friction, hardness, thermal, and chemical targets. Consider DLC-type films where low friction and anti-sticking matter.
- Set geometry and finish rules: Confirm allowable thickness, edge radii, masking, and pre-/post-finish requirements.
- Plan prep and finishing: Include sandblasting or microblasting as needed, thorough cleaning, and after-coating polishing or lapping to final finish.
- Write the specification: Document stack, process, target thickness, finishing, and acceptance tests.
- Prototype with coupons: Validate thickness, adhesion, hardness/microstructure (as relevant), and tribology before production.
- Run controlled trials: Track cycle counts, scrap, and maintenance notes against uncoated or alternative baselines.
- Lock the control plan: Define inspection frequency, coupon placement, and documentation for traceability.
- Review recoat strategy: Specify stripping methods and inspection criteria between runs.
FAQ
Is thermal coating the same as heat treatment?
No. Heat treatment changes the bulk properties of a material through thermal cycles, while thermal coating adds or modifies a surface layer to change how the surface behaves. Many programs use both: heat treat for core strength and a coating for surface performance.
How do I decide between a thin film and a thicker overlay?
Match the solution to your dominant risk and tolerance for dimensional change. Choose thin films (such as PVD) when you want precise friction, wear control, and minimal thickness. Choose thicker overlays (thermospray, including pulsed HVOF methods) when you need robust barriers, erosion resistance, or dimensional restoration.
What if my part has very tight tolerances?
Specify a thin film within a narrow thickness window and include after-coating polishing or lapping to reach final dimensions and finish. Also ensure masking is planned for critical fits and threads so the coating only goes where it provides value.
If you’re researching automation examples around industrial finishing, this portfolio overview of automatic coating projects can provide additional context about how coating steps integrate into broader production lines.